Forking a repository on GitHub opens doors to exploration and contribution. But how do you keep track of your different changes and ideas? That's where branches come in!
Branch Basics
Think of your main branch (often called main and previously known as master) as the core codebase. Branches are like new paths diverging from that core, allowing you to experiment without affecting the main line.
Creating a Branch
- Open Github
- Navigate to your forked repository
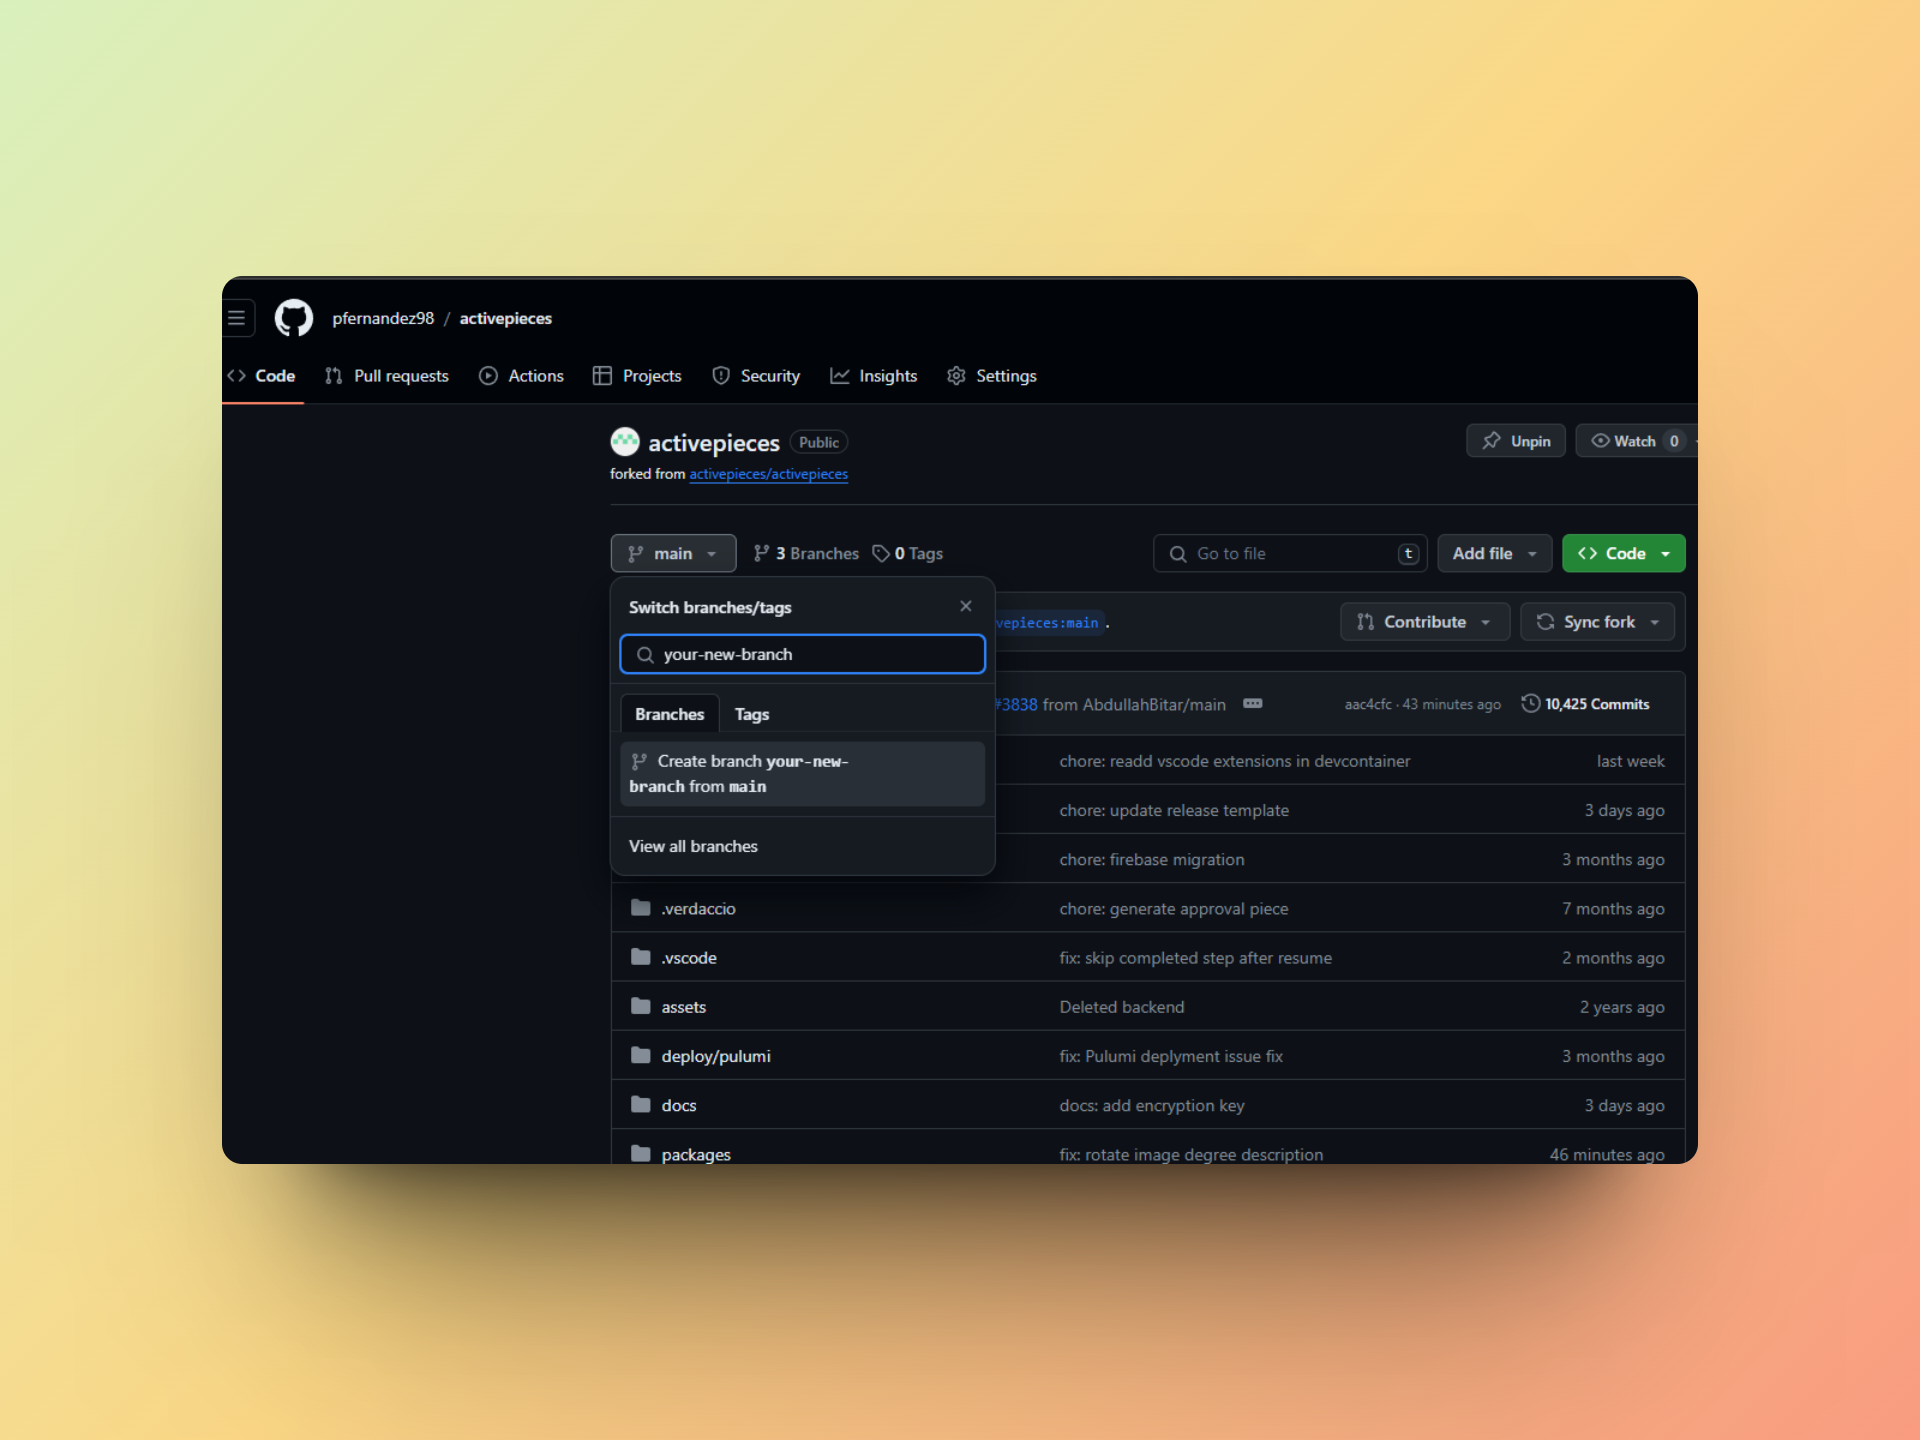
- Click on the dropdown that says "main" or "master" and type in the name of your new branch
- Click on the "Create branch" button
Switching Branches
Once you have created a branch, you can switch to it by clicking on the dropdown and selecting the branch you want to switch to.
For Activepieces stuff
Create a branch for every new feature or bug fix you want to work on. This way, you can keep your main branch clean and stable, and you can easily switch between different ideas and experiments. You can delete branches once you're done with them, or merge them back into the main branch if you're happy with the changes.
Please, don't delete the branch if you have an open pull request. It will make it harder to review your changes because it will close the pull request.